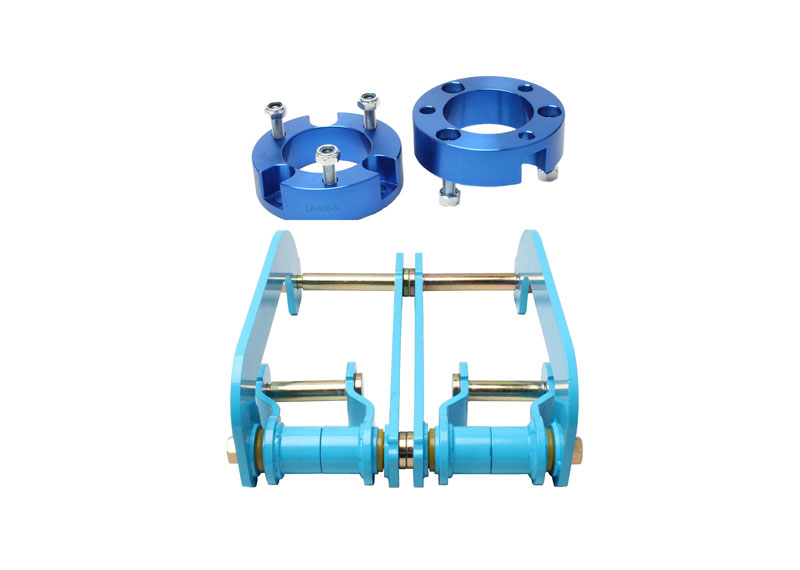
How to Install the Lift Kit?
1. The top wire of the front riser must be aligned with the plane of the bottom bracket nut, and there must be a gap between the top wire and the bottom bracket fixing nut after the top wire is locked. Otherwise readjust! If the jack screw directly hits the nut, it may cause the shock absorber's central shaft to break!
2. The front elevation adjustment pad must pass through the shock absorber's central axis (the thickened white dry part under the thread), otherwise an abnormality will occur.
3. After the leveling lift kit is installed in place, the upper plane of the central axis of the shock absorber and the upper plane of the raised lower body are flush.
4. At the end, all operations are completed, on the lifter. When the front tire does not touch the ground, measure the distance from the bottom of the wheel hub to the wheel eyebrow to be 781±3 mm, otherwise, check the installation as above.
5. When the eccentric screw is installed, the position of the nut and screw should be installed according to the original position of the car, with the nut facing the rear of the car. Adjust the eccentric screw to move the shock absorber to the side of the engine. Then tighten the eccentric screw and the original car horn fixing screw. Go out and run 3 kilometers, come back to the shelf for positioning.
6. When positioning, first adjust the inclination angle of the front wheel, loosen the eccentric screw, and the original car horn fixing screw. If the original car horn fixing screw is not loose, the inclination angle cannot be adjusted correctly and cannot be adjusted.
7. If the front wheel has been propped up during positioning, you must go out and run a few kilometers before positioning.


